3.29.2017

Happy Heart *Shimmerz Paints*

Hello, everyone!

I'm here today with a layout that I shared on the Shimmerz Paints blog yesterday...


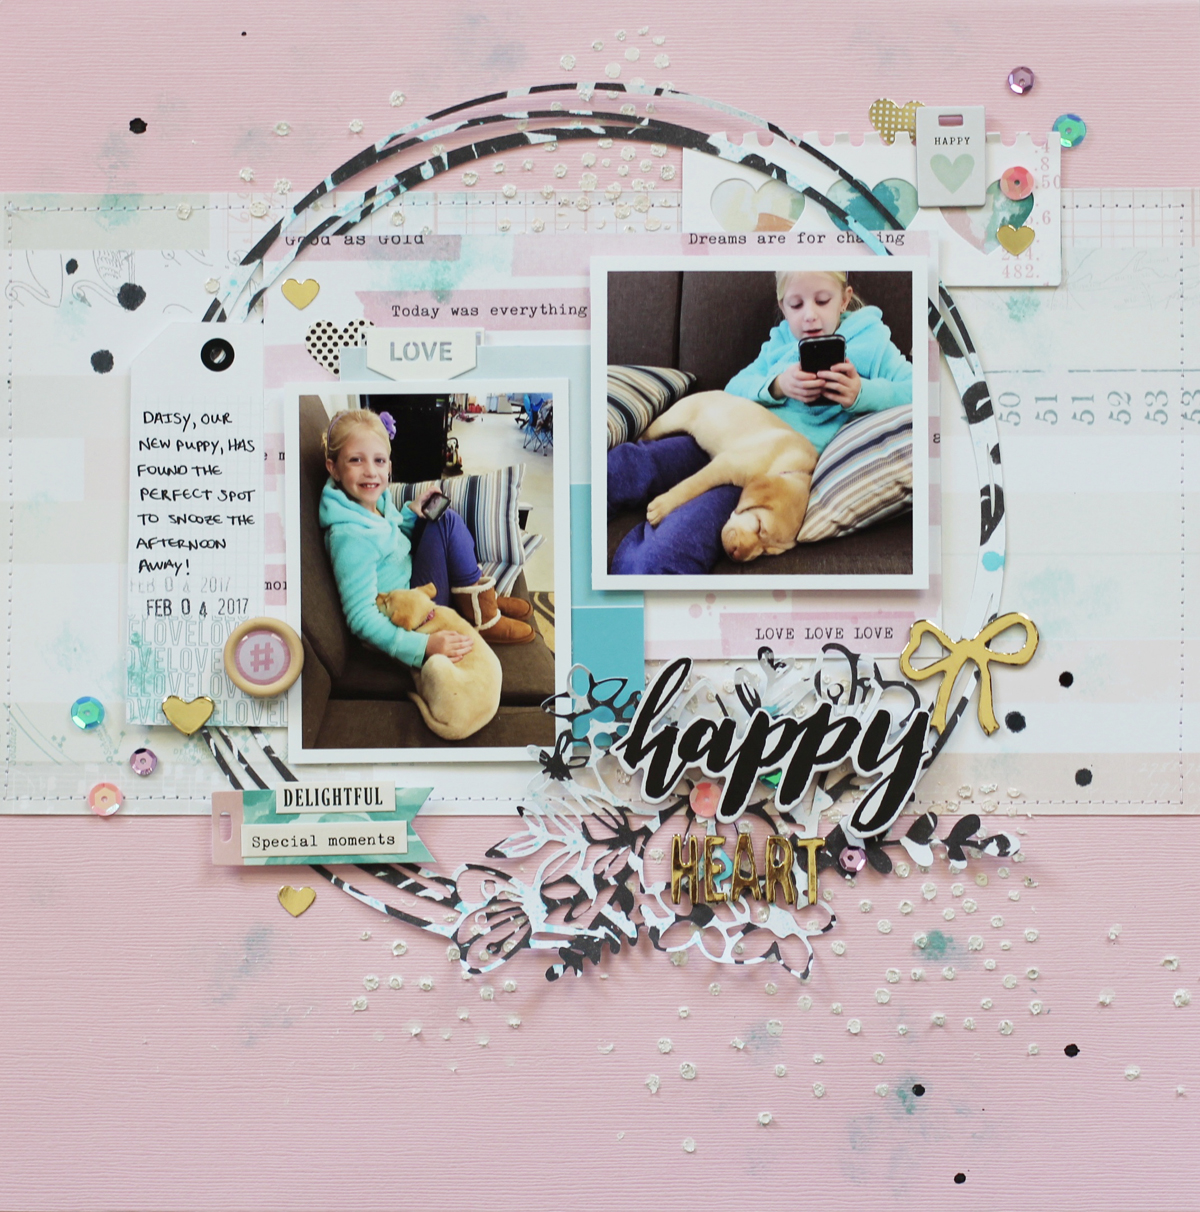
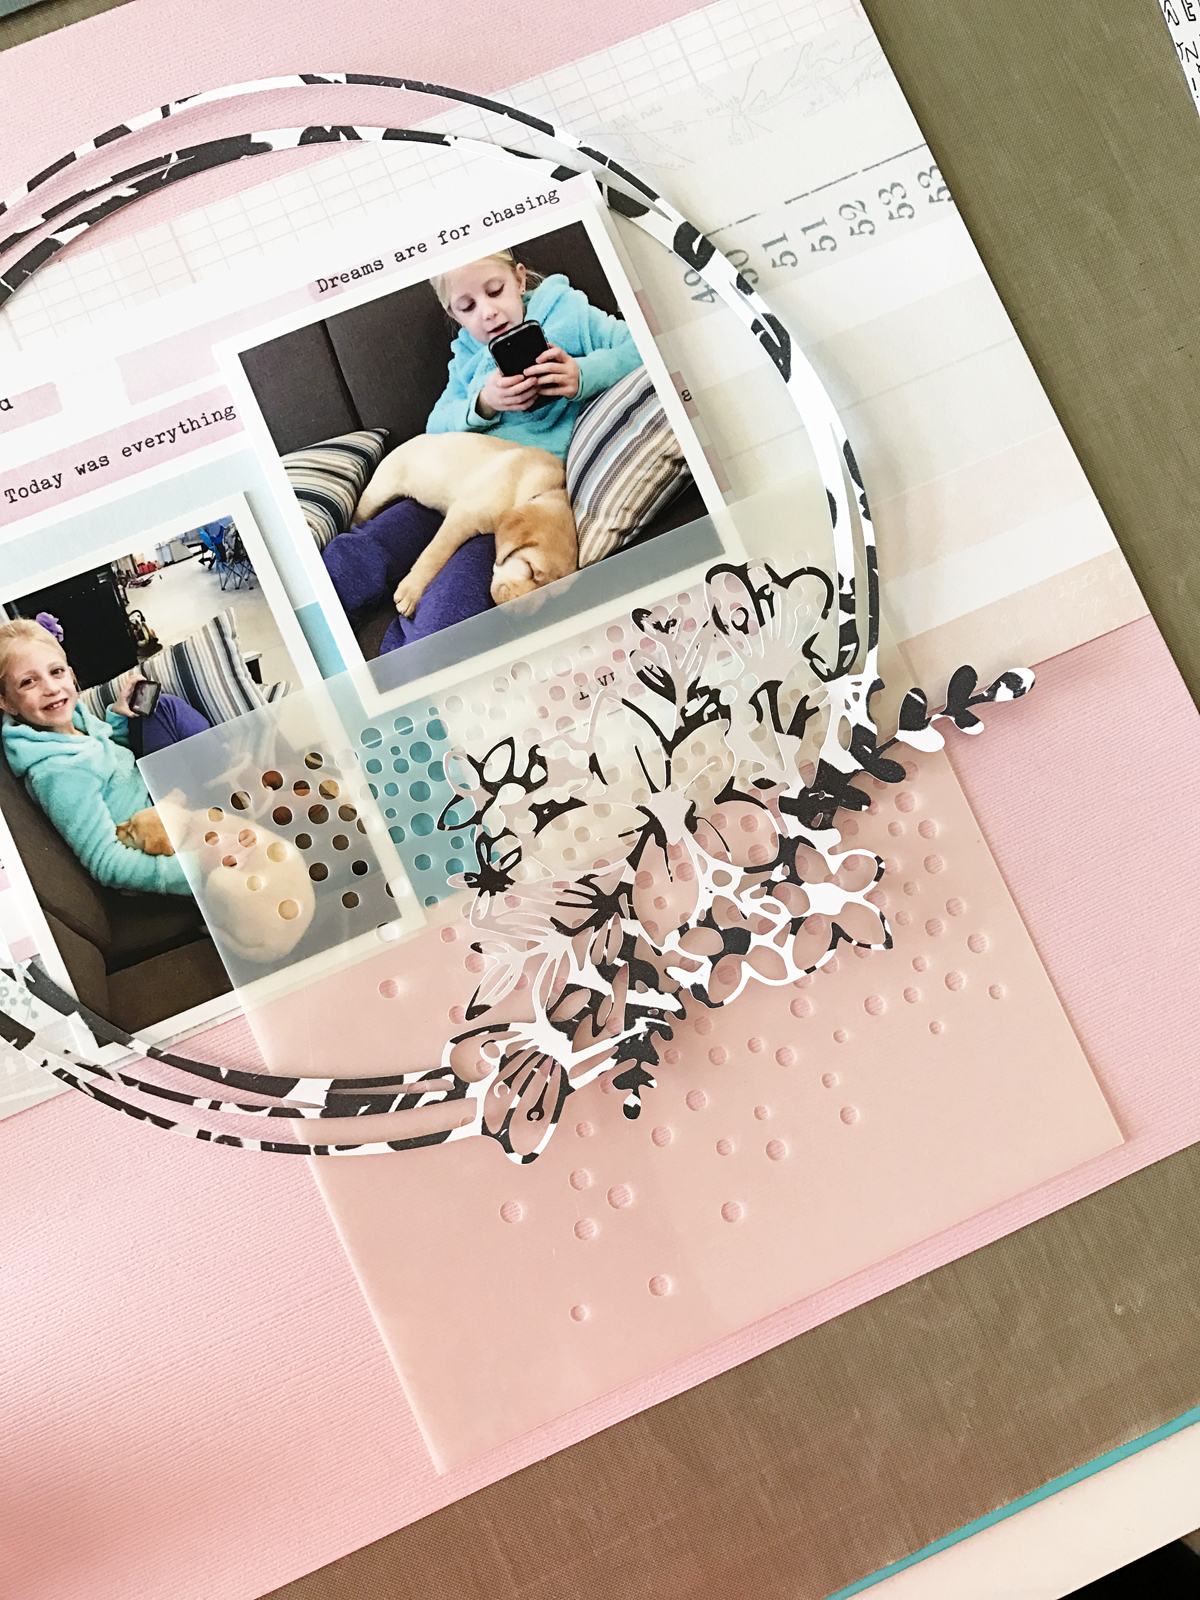
To begin, I started by layering a piece of patterned paper on top of a light pink piece of card stock for my background and then decided where I wanted my photos and cut file to go. After I was satisfied with the placement of the main elements of my layout, I chose one of my stencils and some Tidy Widy Texture paste and used a small spatula to create the dimensional dots. 


After the Texturez paste dried, I took the black and white cut file and sprayed and splattered some Well Blue Me Down Coloringz spray ink on top of it to help bring out the aqua blue color in my photos. I also added a few ink splatters using the Night Moves Coloringz around the edges of my layout for some added contrast and to coordinate with the black elements on my page. 


Next up, I took a watercolor brush and dipped it in some Tickle Me Turquoise Shimmerz paint and dripped it onto a piece of tissue paper so I could blot some areas around my page in the pretty, shimmery blue color. 


I used items from the Maggie Holmes Chasing Dreams collection to embellish my layout and layered a few sequins around for even more shimmer and shine!


I rarely use a colored card stock for a background, but I really love the effect of the white Texturez paste on top of the pink, don't you? Thanks so much for joining me and I hope you have lovely day!


3.08.2017

Live More Layouts *Pinkfresh Studio*

Hello everyone! I have two layouts that I created using the new Live More collection to share with you today. I also shared these on the Pinkfresh Studio blog last week.

I really love every piece in this amazing collection, especially the patterned papers, so I decided to use two of my favorites as the base for both of my layouts today.


For this first layout, I started by choosing the patterned paper piece that has the large square around the edges. It just sets the stage for the perfect design whether you choose to place your photo in the middle, like I did, or on any side of the square. I also used one of the stamps from the Live More stamp set to add a few extra elements around the square. 


I layered the photo of my kiddos that was taken a few years ago while we were staying in Kansas City on top of a 4x4 piece of the marbled patterned paper from the 6x6 paper pad and then again on the gorgeous mint and gold vellum paper that's also from the Live More collection. I layered lots of embellishments from the collection, including some puffy stickers and die cuts, directly around my photo to help direct the eye toward it. I love using foam dimensional adhesive to elevate the die cut pieces when I create my embellishment clusters. 


I added one of the gold foil label stickers under my photo to house my journaling and I placed several of the copper star stickers around my page for added dimension and color. 

Next up, I have another layout where I used the Live More patterned paper as my background...


I placed my photo in the top right-hand corner of the page and layered a few of the gold foil die cuts around it, including a tag where I wrote my journaling. I also placed one of the circular puffy stickers near the top left side so it would coordinate with the circle die cuts I used near my photo. 


I added the sentiment stickers directly to the "Live More" sentiment on the paper. I think it adds a nice layer to the large title and helps draw the eye around my page. I also love how well the colors coordinate and go so well with any theme. 


The Live More collection is great for documenting any theme or event! It's filled with trendy, color-coordinated papers and embellishments and is so versatile and fresh feeling.

Thanks so much for joining me and I hope you have a great day! 

3.02.2017

The Princess Mix *Shimmerz Paints*

Hey everyone! I'm here today with a layout that I created using some gorgeous Coloringz and Dazzlerz that I shared on the Shimmerz Paints blog yesterday!


I love using these gorgeous Shimmerz items to create my own backgrounds for my layouts! To begin, I gathered some white cardstock, some Coloringz spray ink in Don't Citron Me and Oh Say Can U Sea, and a piece of plastic product packaging.


I used the "packaging technique" to get some color on my cardstock and after it dried, I applied some Dazzlerz dimensional paste in Grapetastic and Pucker Up Pink with one of my favorite stencils from my stash and created some hearts on top of the Coloringz...


The Dazzlerz are great for any project because they add just the right amount of dimension and have a smooth, shimmering effect. Next, I layered the photo of my daughter and her dance group on top of several different coordinating patterned papers and adhered it on my page using some dimensional adhesive. 


I also added my title using some letter stickers and placed several gold shaped stickers from Pinkfresh Studio around the hearts for added dimension and to give my page an extra pop of color. I stitched along two corners of my layout using my sewing machine and some hot pink thread and layered the white cardstock on top of a piece of patterned paper from Crate Paper.


Thanks so much for joining me today and I hope I've inspired you to grab some Shimmerz and get creative!